If you want to know how to make a 72-hour bug out bag without spending much, start by walking through your own house. Most of what a three-day bag needs is already in your closets, kitchen and garage. The only money you need is for the few gaps left after you have gathered it all.
The order matters. Pack by what keeps you alive first: water, warmth, food, light, health, then documents. If the bag gets too heavy or the money runs out, the items you cut are the least important ones.
Bug out bag or stay-put kit? Decide before you pack
A bug out bag is for leaving: a wildfire evacuation, a flood warning, a gas leak, a road you have to walk. A stay-put kit is for riding out an ice storm or a power outage at home. Most everyday emergencies are the second kind.
You can build both from the same pile of supplies. Gather everything first, then split it. The lightweight essentials go in the bag by the door. The heavy items, like extra water jugs, a bigger food supply and blankets, stay in a tub or on a shelf and ride in the car if you have to leave by vehicle.
Pick the likeliest emergency where you live and keep it in mind as you pack. A winter storm calls for more warmth. A hurricane coast calls for papers in waterproof bags.
Pick the bag and set a weight limit you can actually carry
Use a bag you already own: a school backpack, a gym bag with straps, a work pack, a hiking daypack from the garage. It should be comfortable on both shoulders and close completely. A bag you can carry for a couple of miles is a better bag than one with more pockets.
Set the weight limit before you pack, because gear piles up quickly. A common rule of thumb is to keep a loaded pack under about 10 to 20 percent of your body weight, and the lower end is wiser if you have a bad back or knees or work a physical job that already wears you out. Load the bag, put it on, and walk around the block. If you are sore or winded after that, re-adjust the straps and make another lap. If it is still uncomfortable, consider removing some items.
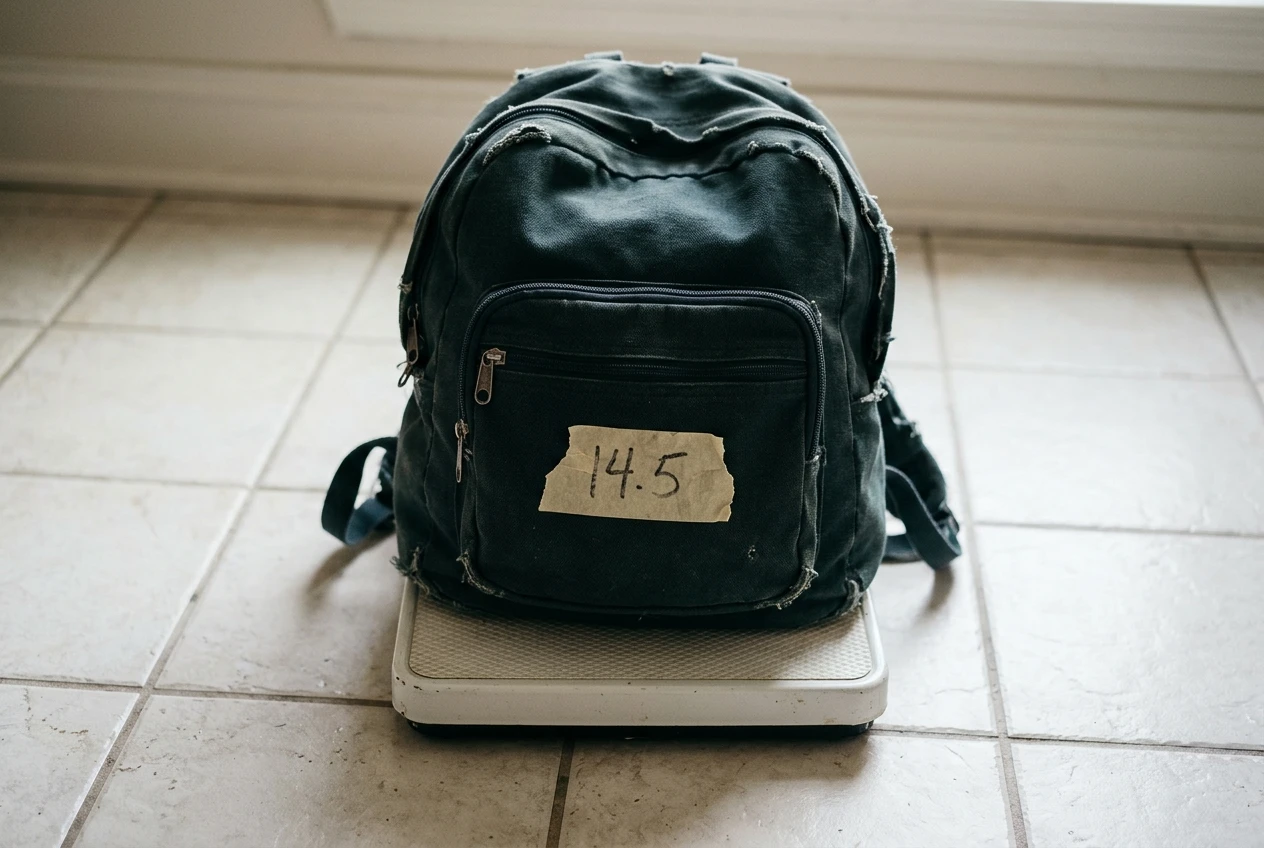
Weigh it on the bathroom scale once it is packed and write the number on a piece of tape on the bag. That number is your limit, and anything new has to replace something already inside.
Water first: carrying it, cleaning it, and what to skip
A person needs about a gallon of water a day for drinking and basic hygiene. Three days is three gallons, and water weighs a little over eight pounds a gallon, so that is about 25 pounds in water alone. That is too much for most people to carry on foot.
The workable plan is to carry a smaller amount and plan to treat more along the way:
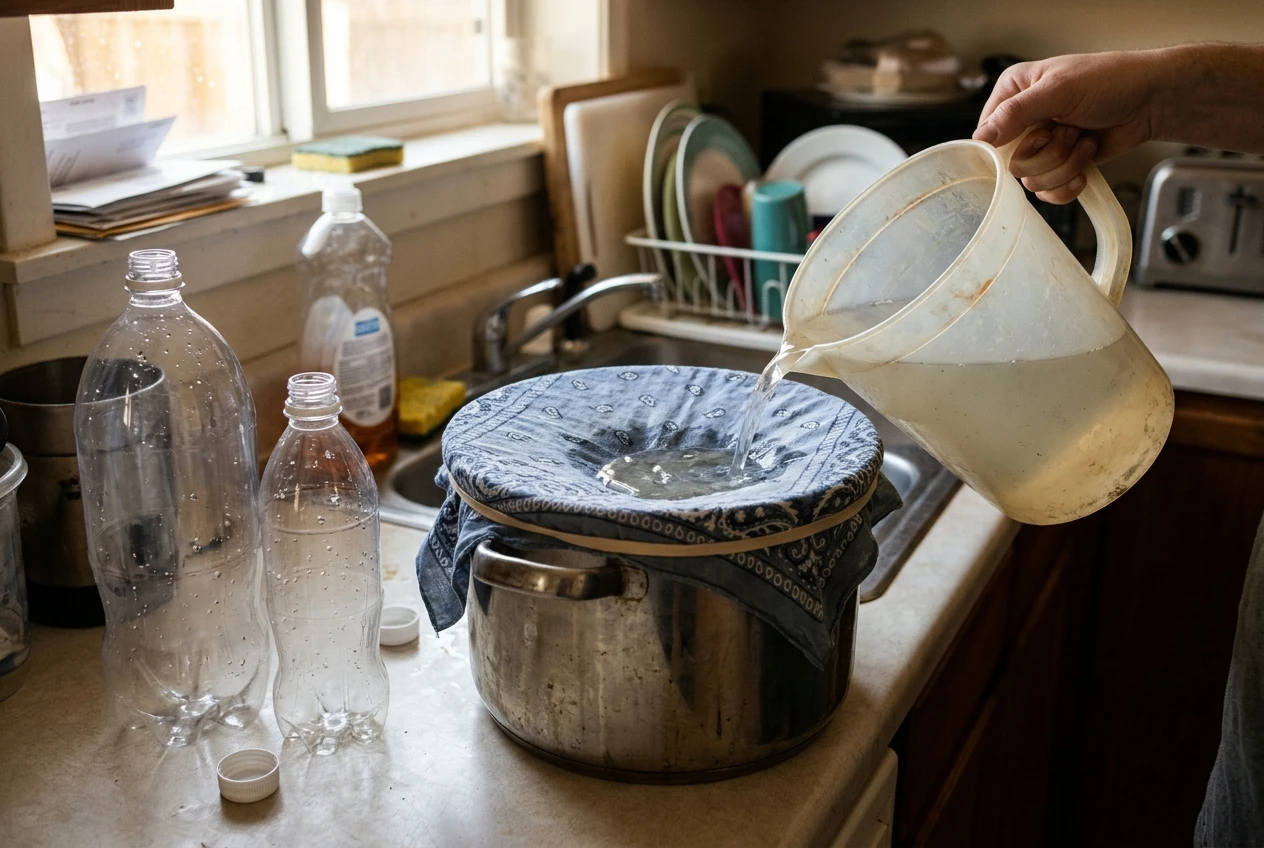
- Carry one to two liters in bottles you already have. Rinsed soda or juice bottles and sturdy reusable bottles both work. Skip bottles that have held anything other than food or drink. Do NOT use any bottle that held dairy products.
- Pack a way to make found water safe. Boiling is the cheapest. Bring the water to a rolling boil for one minute, or three minutes at high elevation (above about 6,500 feet), and let it cool.
- Keep a metal pot or an old tin can you can set on a fire or stove for boiling.
- Pack a bandana, a clean t-shirt scrap or a coffee filter to strain out grit before boiling.
Straining and filtering clear up cloudy water. Boiling is what makes it safe to drink. If you want to see how straining works, here is an easy water filter anyone can make from household items. Boil the water afterward.
Skip the gallon jugs in the bag itself. They are bulky and heavy, and they belong in the stay-put kit.
- Consider purchasing a filter straw. It can filter many gallons of water directly from a questionable source. They are well worth the investment , if at all possible.
Food for three days without a camp kitchen
Pack food that needs no cooking, no refrigeration and no water to prepare. Go to your pantry before you go to the store. Good candidates are:
- Peanut butter in a plastic jar, plus crackers or tortillas
- Granola bars, trail mix, nuts and dried fruit
- Pop-top cans of tuna, chicken, beans or fruit
- Instant oatmeal packets, which can be eaten dry in a pinch
- Hard candy and a few tea bags or instant coffee packets for morale
Plan on roughly 1,500 to 2,000 calories a day per adult, and more if your job is physical. Read the labels and add up the calories rather than guessing. Nine granola bars and a few cans will not feed you for three days.
Pack a manual can opener unless every can has a pull tab. Add a spoon and a small pocket knife. Leave out the camp stove and the freeze-dried meals if you do not own them already, since they need fuel and water.
Warmth and shelter from your closet and garage
Cold and wet kill faster than hunger, so this section deserves real space in the bag. Think in layers rather than one big coat. Pack a wool or fleece layer, a rain jacket or poncho, a hat, gloves, and an extra pair of wool or synthetic socks. Cotton holds moisture and chills you once it is wet, so choose cotton only if you have nothing else.
Our guide on how to layer clothes for cold weather explains how to build those layers from what you own.
For shelter, look in the garage:
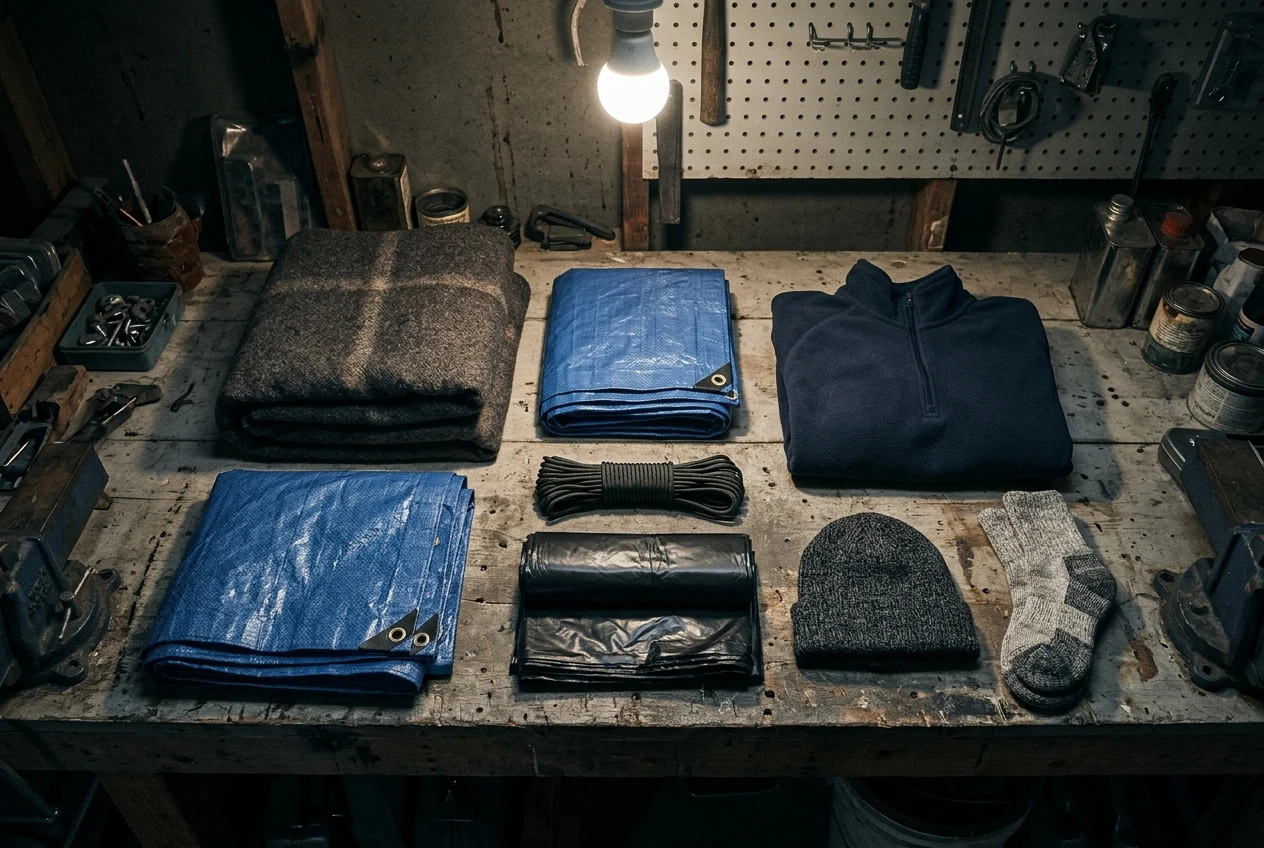
- A tarp or a roll of painter’s plastic
- Paracord or twine
- Two or three heavy-duty trash bags, which work as a rain poncho or a ground sheet
- A wool blanket or a sleeping bag if it compresses small enough to fit your weight limit
A sleeping bag is often the heaviest item, so decide whether it goes in the bag or stays with the car kit. A wool blanket rolled and strapped to the outside is another option.
Light, fire, and a few small tools that earn their space
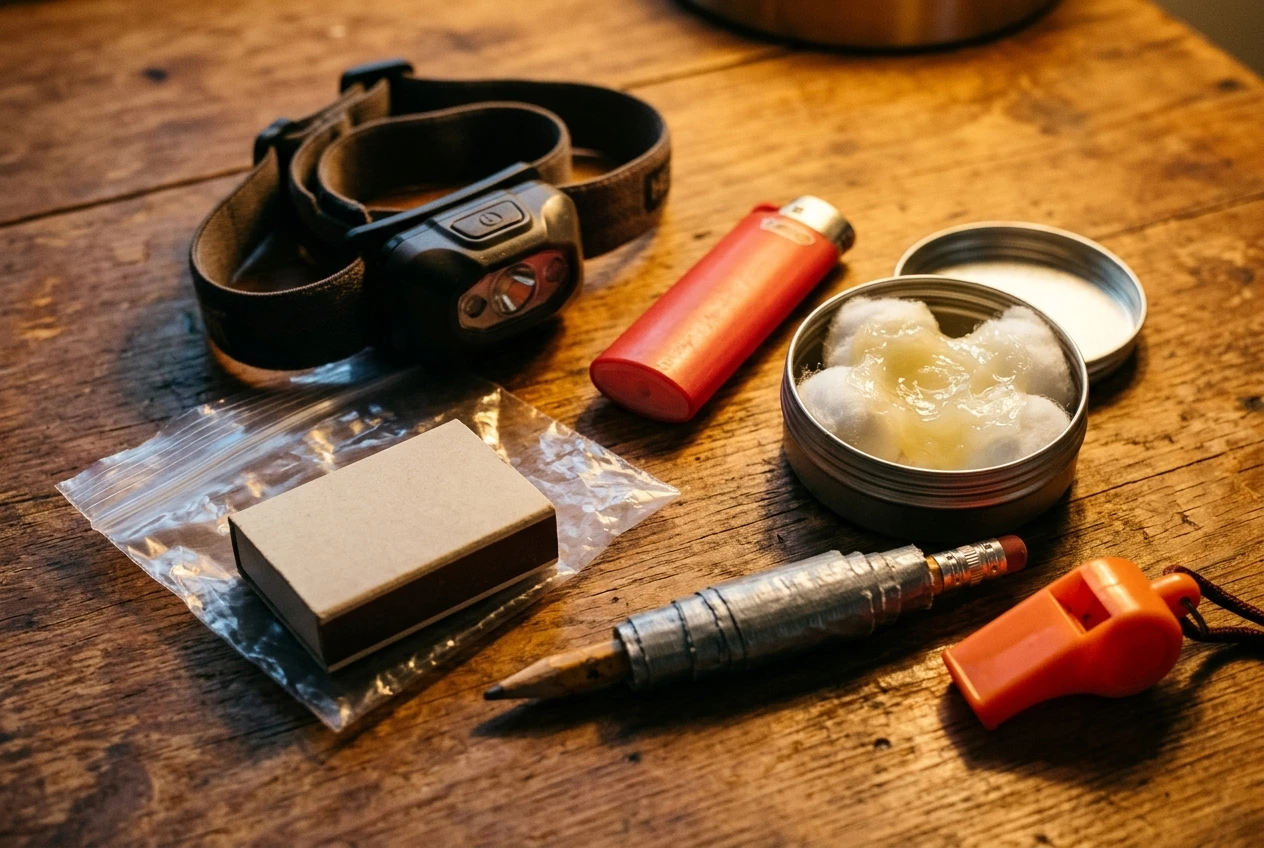
Light comes from a flashlight or headlamp you already have, plus spare batteries. A headlamp keeps both hands free. Check that the batteries are fresh, and tape the switch off or turn a battery around so it cannot switch on in the bag.
For fire, pack two ways to light one: a disposable lighter and a box of matches in a zip bag. Add dryer lint or cotton balls rubbed in petroleum jelly in a small container as fire starter.
Then choose a handful of tools:
- A multi-tool or pocket knife
- Duct tape wrapped around a pencil or old gift card instead of carrying the whole roll
- A whistle
- A small roll of cord
- A battery or hand-crank radio if you own one
If an item is used for only one narrow job, leave it home.
First aid, medications, and hygiene basics
Start with the first aid kit you already have. Check the expiration dates, and restock what is missing: bandages in several sizes, gauze, medical tape, antiseptic wipes, tweezers, and pain relievers you already use.
Prescription medications are the hard part. Ask your pharmacist whether you can get a few extra days’ supply, and ask how to rotate it so it does not expire in the bag. Pack a written list of your medications, doses and allergies, and include glasses, spare contacts or a copy of your prescription if you need them.
For hygiene, use travel-size items you may already have collected from hotel stays or dental visits: soap, a toothbrush, toothpaste, a small towel, tissues and toilet paper flattened out of the cardboard roll. Add a few zip bags for waste and wet clothes, and feminine hygiene products if they apply to you.
Papers, cash, and a plan for reaching your people
Documents are lighter than anything else in the bag, and without them recovery gets harder. Our list of what documents you need in an emergency walks through which ones matter. Keep copies in a zip bag, or a photographed set on a password-protected phone or a USB drive.
Keep some cash in small bills, because card readers and ATMs may be down. Pick an amount you can spare, even if it is only a few dollars a month added to the bag.
Write down the names and phone numbers of your key people on paper, since a dead phone takes the contacts with it. Choose a meeting spot near home, and a second one farther away, and make sure everyone in the household knows both. Pick one relative out of town as the contact everyone calls to check in.
What to leave out, and how to buy the gaps a little at a time
Leave out anything that is heavy, fragile, or needs a skill you have not practiced:
- Large knives and hatchets
- Cans of food beyond the few you can carry
- Cotton clothes in cold climates
- Electronics without a way to charge them
- Anything you have never used and do not know how to use
Once the bag is packed, make a list of what is still missing. Rank the gaps in the same order as the packing: water treatment, warmth, food, light, health, documents. Buy one item from the top of the list each payday, and look at dollar stores, thrift stores and yard sales before anywhere else. Every item you buy should fit under your weight limit.
If this site ever links to gear, the affiliate disclosure explains how those links work. You will not need to buy a ready-made kit to finish this bag.
Check and refresh your bag twice a year
Pick two dates that are easy to remember, such as the weekends when the clocks change. Open the bag and check these things:
- Swap out food and water, and eat the older food at home.
- Test the flashlight and replace the batteries.
- Update documents, phone numbers and cash.
- Swap clothes for the coming season and check they still fit.
- Check medication dates and refresh the first aid kit.
- Weigh the bag again.
Start this weekend
You do not need to finish the bag in a day. This weekend, go through your home with the packing order in mind: water, warmth, food, light, health, documents. Put what you find in one pile, pack it, weigh it and write down what is missing. Only then buy the gaps.
If you are not sure where this fits in your wider preparedness, read Prepping in Stages first. It shows how to build up your preparations in order, so each step is affordable.
Remember that we want to be prepared, not scared.
