Water is the first thing worth storing because a person can go weeks without food but only a few days without water. A burst pipe, a boil-water notice, a power outage that shuts down a well pump, or a storm that damages the treatment plant can all cut off your tap. In many of those cases the water is back within a day or two, but it helps to have some in the house for those days.
Starting takes very little. If you have a few empty drink bottles and a sink, you can have your first day of water set aside tonight. Everything below builds from there, at whatever speed your paycheck allows.
Working out how much water your household needs
The common guideline is one gallon of water per person per day. That covers drinking and a small amount for basic hygiene and cooking. Some people need more, such as anyone who works hard in the heat, is pregnant, or is nursing, so consider rounding up for them.
Here is the math for a three-day supply:
- One person: 3 gallons
- Two people: 6 gallons
- A family of four: 12 gallons
Pets drink too. A common rule of thumb is about one ounce of water per pound of body weight each day, so a 20-pound dog would need roughly 20 ounces. Your vet can give you a better number for your animal, especially for a large dog or a pet on medication. Add that to the total for each animal in the house.
Write your household’s number on a scrap of paper and keep it somewhere you will see it. That number is your first goal. It is probably smaller than you expected.
Free and nearly free containers
Many households already throw away good water containers. The best free option is the plastic bottle that soda, sparkling water, or juice came in, as long as it is made of sturdy food-grade plastic. Bottles that held soda and bottled water are the most dependable, because the plastic is made to hold liquid for months.
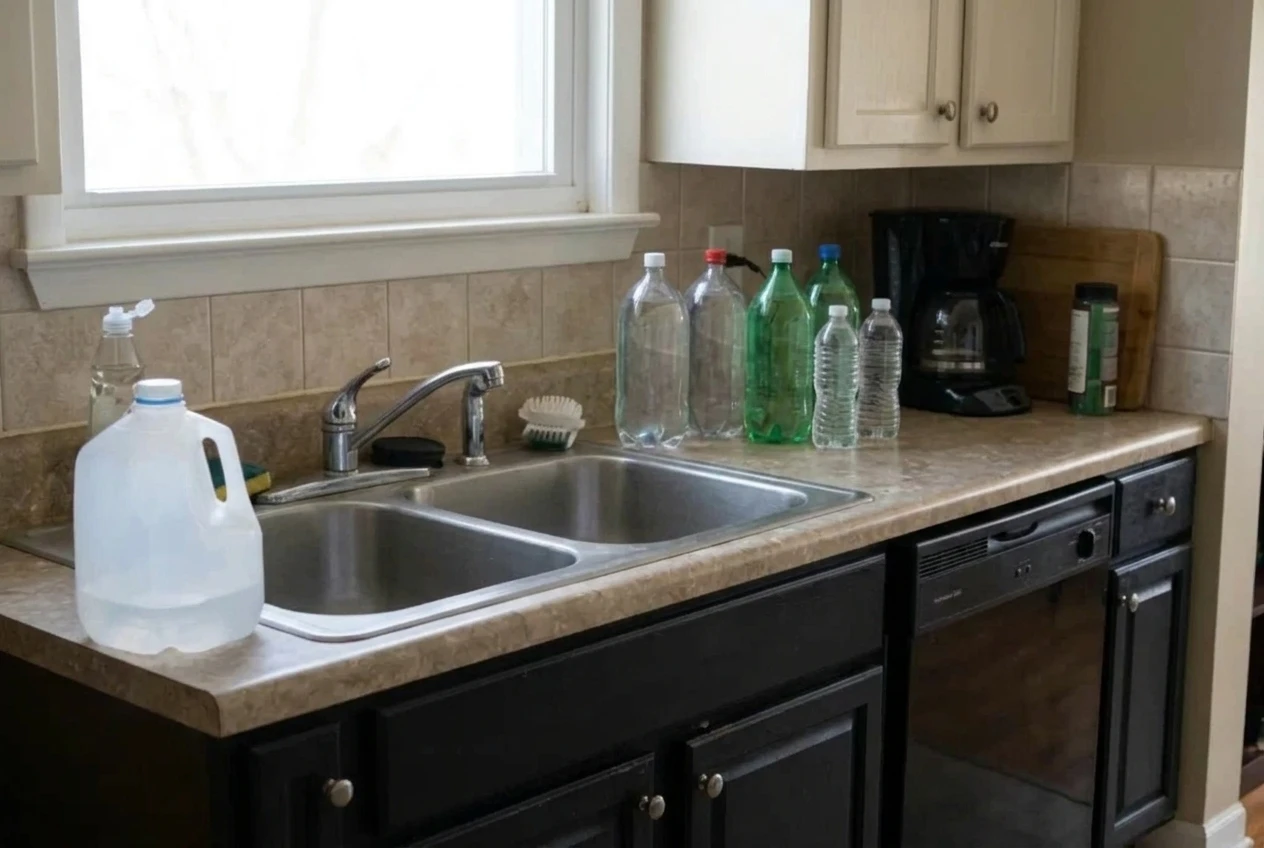
Good candidates to reuse:
- Two-liter soda bottles with screw-on caps
- Empty water bottles of any size, especially the larger refill-style ones
- Sturdy juice or sports drink bottles with tight lids, once they are washed well
- Glass bottles or canning jars with proper lids, if you have a low shelf where they will not fall (glass is heavy and breaks)
Do NOT use:
- Milk jugs. The plastic is thin and breaks down over time, and it is hard to get every trace of milk out of the corners, which can lead to bacteria growing in the water.
- Any container that once held something that is not food, like cleaning products, motor oil, or chemicals.
- Containers with cracks, a lingering smell, or caps that no longer seal.
In an emergency, you can prepare a bottle, wash it with dish soap and hot water, then rinse it thoroughly. For a sanitizing step, many preparedness guides suggest rinsing with a weak bleach solution made from about a teaspoon of plain, unscented household bleach per quart of water, letting it sit a minute, then rinsing very well. Check the label on your own bleach, and consider using it only on bottles that you can rinse out completely.
Fill the clean bottles with plain tap water if your city supplies treated water, and cap them tightly. That alone is a real water supply. If you have a private well, or you are not sure your tap water is treated, consider checking with your local health department about how to prepare it before storing.
Buying a few containers when you’re ready
Free bottles will take you a long way. Once you have a bit of room in the budget, a few purchased containers can make storage tidier and cut down on the number of bottles you have to handle.
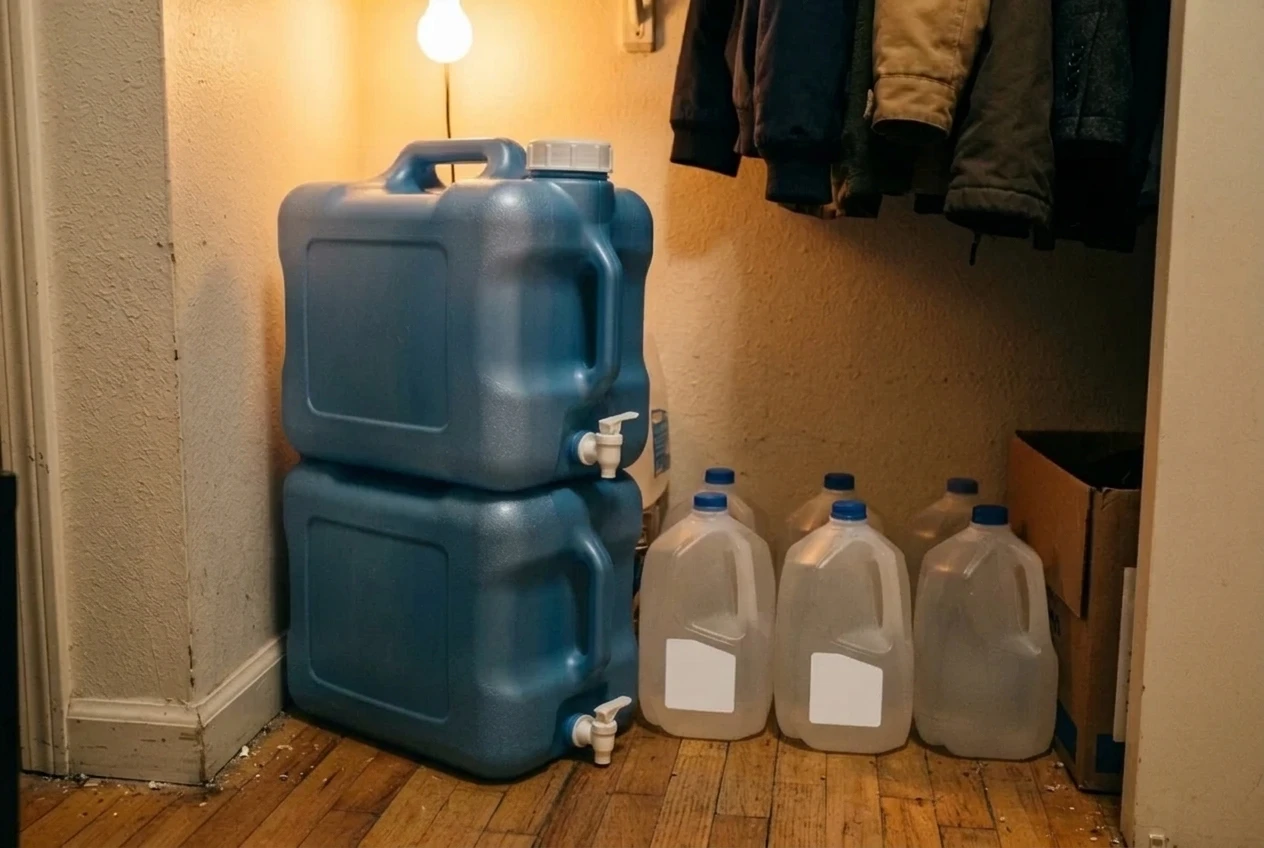
Here is what to look for on a budget:
- Food-grade labeling. The container should say it is food-grade or made for drinking water. Plastic that is not rated for food can leach unwanted substances into the water.
- A size you can lift. A full gallon of water weighs a little over eight pounds. Containers that hold several gallons get heavy quickly, so consider the strength of whoever will be moving them, and whether they can get to them from a closet floor.
- A tight, sturdy cap. A cap that seals well keeps dust and bugs out, and a spigot or handle that can be replaced is a bonus.
- Stackable shapes. Square or rectangular jugs waste less space than round ones and can be stacked in a closet or under a bed frame.
- Dark or opaque plastic. Light helps algae grow, so containers that block light tend to keep water fresher.
Sealed gallon jugs of drinking water from the grocery store are also a fine option. They cost little, they are already sanitary, and you can store them as they are. Watch for sales and consider picking up one or two each time you shop. If you can afford a case, it will often come in a box which is much easier to stack in a closet or crawl space. Use the date printed on the jug as your guide for when to use it.
Where to tuck water away in a small home or apartment
You do not need a garage or a basement. Water is happy in any cool, dark, out-of-the-way space. Think about places that are already dead space in your home:
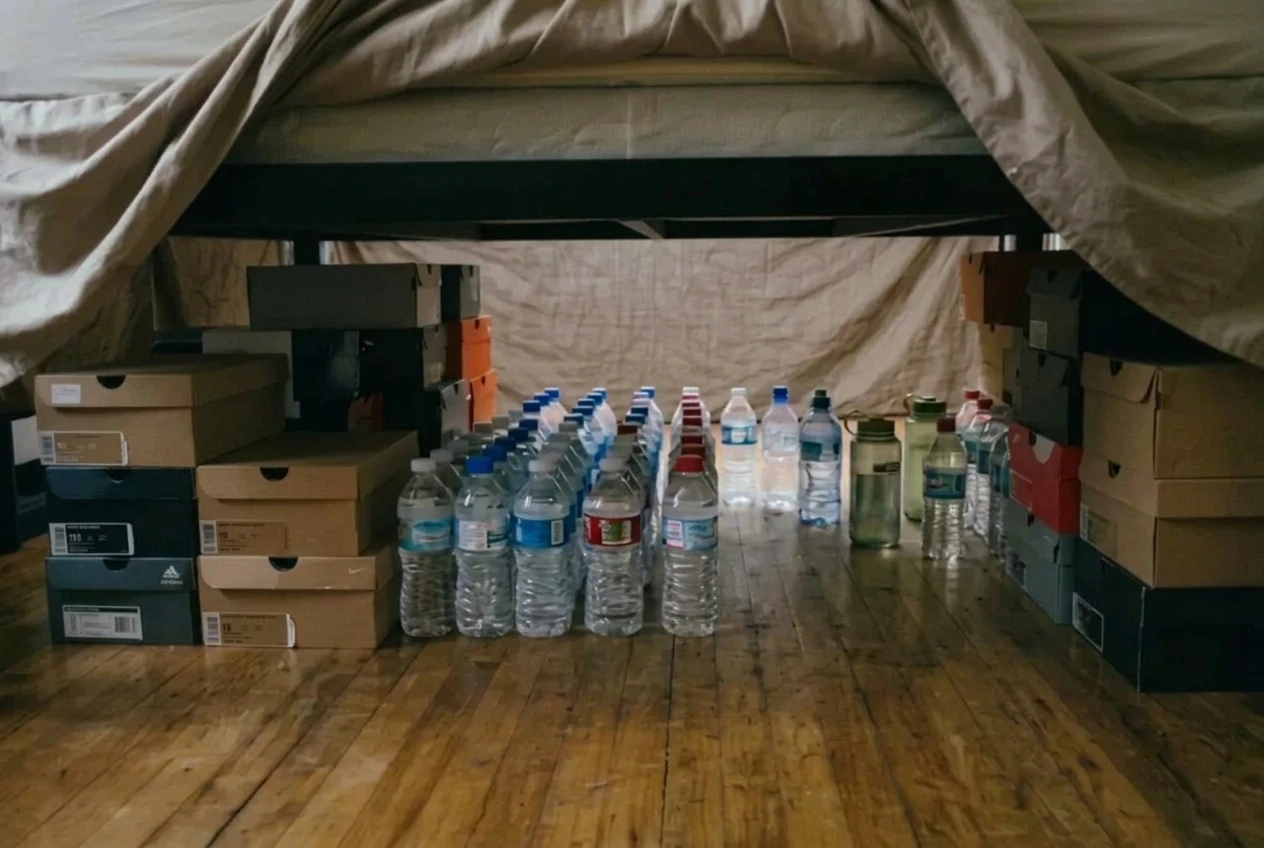
- Under beds. Flat, wide containers and rows of two-liter bottles often fit under many bed frames. A bed with a dust ruffle hides them well.
- In closets. The floor of a hall closet or bedroom closet can hold a stack of jugs. Consider a low shelf for the heaviest ones so you are not lifting them from above your head.
- Behind the couch. A row of bottles against the wall behind a sofa is invisible from the room and does not take up any walking space.
- Under the sink or in lower cabinets. Keep them away from cleaning chemicals, which can have strong fumes. Putting bottles of water it the backs of cupboards has the added benefit of preventing stuff getting crammed to the back.
- In the bottom of a pantry or a coat closet. A couple of jugs in the corner will go unnoticed.
Keep water away from direct sunlight and from heat sources like a furnace, a water heater, or a sunny window. A cool spot keeps it tasting better and slows the growth of anything that might get in. Do not store water right next to gasoline, paint thinner, or pesticides, since fumes can pass through some plastics over time.
If you rent or share a space, consider giving each bottle a spot you can reach in a hurry, because water you cannot get to is not much help in an emergency. For more ideas on keeping supplies out of sight, the site’s article on hiding preps in plain sight has some creative options.
Keeping it fresh: labeling, rotating and a check-in routine
Stored water stays safe longer when it is clean, sealed, and kept cool. It can still taste flat or stale after a while, and containers can develop small leaks. A short routine takes care of both.
Label every container with a piece of masking tape and a marker. Write the fill date on it. If you rotate by the season, a simple note like “refill May” works just as well.
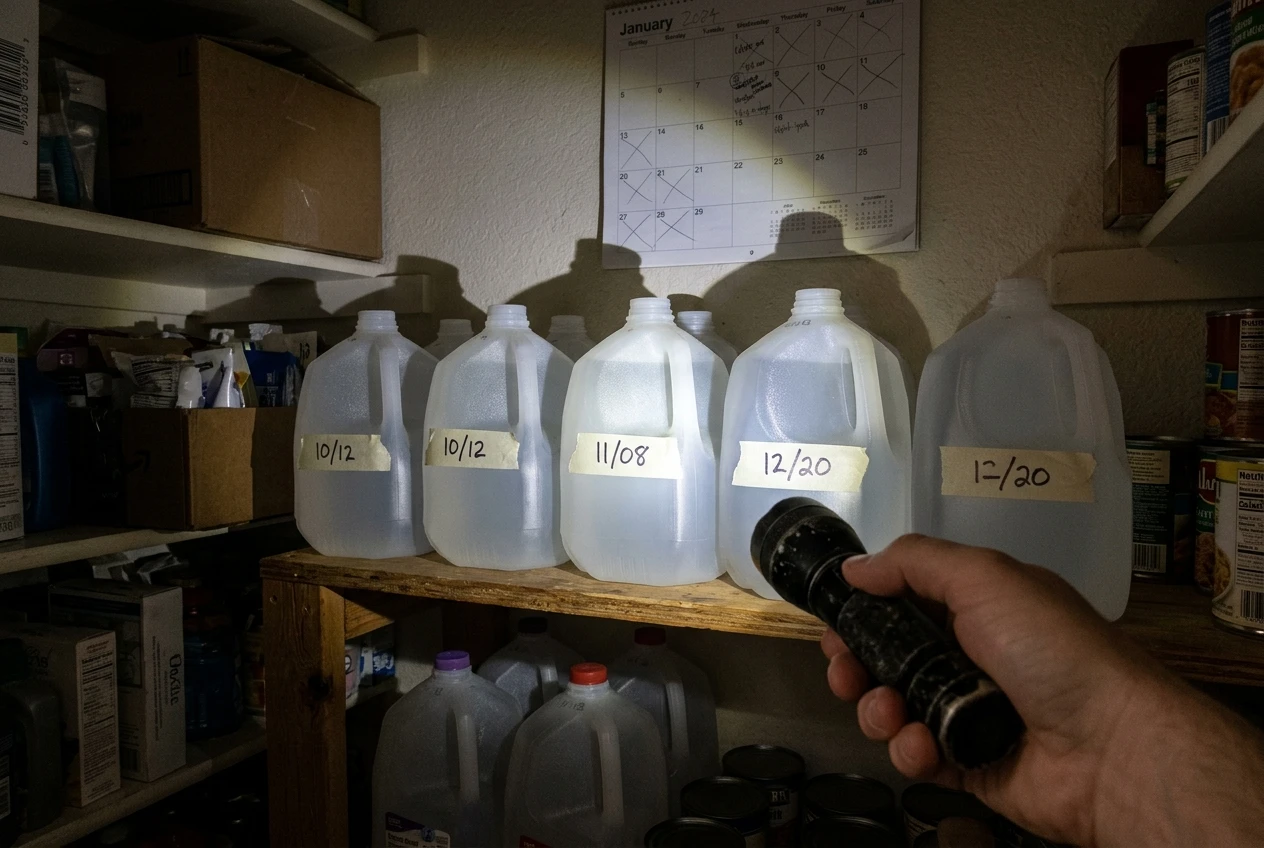
Rotate about every six months. This is a widely used guideline for water you filled yourself. Pour the old water on houseplants or the garden, or use it for washing and flushing, then wash the container and refill it. Store-bought sealed water should be used by the date on the label.
Pick a check-in day. Tie it to something you already do, like the day the clocks change or the first of the month. When the day comes, walk through your storage spots and look for:
- Leaks, cracks, or loose caps
- Cloudy water, a bad smell, or anything floating in it
- Labels that are missing or too old to read
If a container looks or smells off, consider pouring it out and refilling it. Five minutes with a flashlight is usually all this takes.
Growing from three days to two weeks
Three days of water is a sound starting point and may cover most short outages. Many preparedness planners suggest working toward two weeks, since some disasters take longer to clear. You can grow your supply a little at a time without a big purchase.
Here is one way to pace it:
- Week one: Fill enough clean bottles for three days for each person and pet in your home.
- Month one: Add one more day of water each week, using free bottles first.
- Months two and three: Pick up a jug or two on your regular grocery trips, or buy a stackable container when you have a little extra.
- After that: Continue adding until you reach seven days, then fourteen.
For a family of four, two weeks comes to 56 gallons, which sounds like a lot until it is divided across many small additions over several months. A single person needs 14 gallons for two weeks. Every gallon you add counts, and you do not have to reach the final number to be better prepared than you were last week.
If space is limited, consider stopping at a week and putting the saved room toward a way to treat water instead, which is covered next.
What to do when your stored supply runs low
Even a good stockpile can run out in a long emergency. This is where treating water becomes useful. If your tap is off but you can reach another source, such as rainwater, a stream, or a pond, the water will need to be made safe before anyone drinks it.
Common methods include boiling, which is the most reliable when you have a heat source, as well as purification tablets and filters made for drinking water. Consider following the directions on any product you buy, and check with your local health department or emergency officials for guidance during an emergency, since conditions in your area may call for something specific.
Stretch your stored water by saving it for drinking and cooking, and use other water for washing and flushing when you can. Treating water is a separate skill from storing it, and it is worth learning before you need it, so you can practice when nothing is at stake.
If you would like to fit water storage into a bigger plan that moves at an affordable pace, take a look at Prepping in Stages. When you are ready for the next calm step, read An Easy Water Filter Anyone Can Make to see how to make found water safer to drink.
A few filled jugs in a closet put you well ahead of where you were yesterday, and you can add to them whenever you are ready.
